How To Cut Short Hair In Layers With Scissors: Effortless Style And Volume!
Cutting short hair in layers with scissors is an excellent way to add texture, volume, and movement to your hairstyle. Whether you’re a professional hairdresser or looking to experiment with your look, learning the techniques to cut short layers can be immensely beneficial. Layered cuts work wonders for fine hair, making it look thicker and fuller. While thicker hair can also benefit from layers, style may be more challenging. In this guide, we’ll walk you through the step-by-step process of achieving stylish, layered hair with scissors, ensuring a flawless result. So, gear up for a fun and informative journey to achieve the perfect short layers yourself!
1. Prepare Your Tools
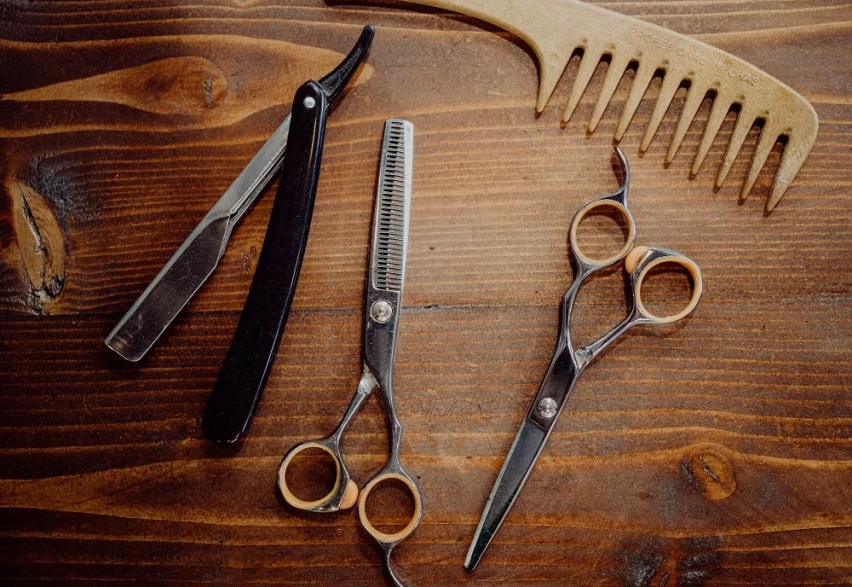 Before you begin the cutting process, ensure you have the right tools. You’ll need a sharp pair of professional haircutting scissors, a fine-toothed comb, hair clips, and a spray bottle with water. Working with sharp scissors ensures clean cuts, minimizing damage to the hair. With these supplies, you can confidently learn how to cut short hair in layers with confidence and finesse.
2. Clean and Moisturize the Hair
The first step is proper hair preparation when learning how to cut short hair in layers with scissors. Start by washing the hair thoroughly to remove dirt, oils, or styling products. Gently pat the hair dry with a towel, and then lightly mist it with water using the spray bottle. This helps keep the hair moisturized throughout the cutting process, making it easier to handle and preventing split ends.
3. Section the Hair
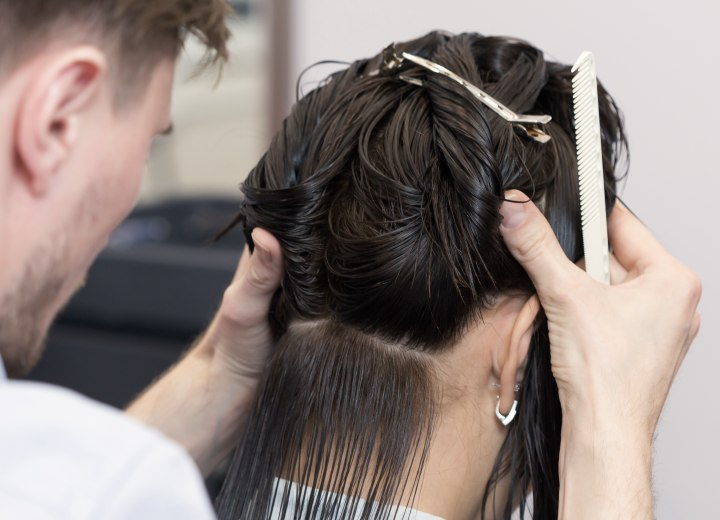 To make the layering process more manageable, divide the hair into sections. Start by parting the hair horizontally, about an inch above the nape of the neck. Clip the top section of the hair away, leaving the bottom section loose. Comb the loose section thoroughly to ensure it’s smooth and tangle-free.
4. Create the First Layer
With the bottom section ready, hold a small subsection of hair between your index and middle fingers. Position your fingers at the desired length you want the first layer. Remember that cutting less initially allows you to adjust the length later if needed. Using the scissors, make a slight diagonal cut following the line of your fingers. This creates a soft, angled effect for the layer. Work your way around the back of the head, cutting small sections of hair at a time, and always cross-check to ensure the layers are even.
Related: A guide on Using Thinning Shears for Hairstylists
5. Blend the Layers
Once you’ve completed the first layer, release the top section of hair and let it down. Comb it thoroughly to remove any tangles. Now, you must blend the top layer with the bottom one.
To blend the layers, take small vertical subsections of hair from the top layer and hold them at a 45-degree angle. This angle allows for seamless blending between the layers. Cut the hair using a point-cutting technique, which involves making small, upward cuts into the hair instead of cutting straight across. This technique creates a softer, more natural-looking transition between the layers.
6. Layer the Sides and Crown
Next, it’s time to layer the sides and crown. Working on one side at a time, take horizontal sections of hair and follow the same cutting process as you did for the back. Hold the hair straight up for the crown area and cut it vertically to add volume and lift to the hair.
7. Check for Balance
Once you’ve completed the layering process, checking for balance and symmetry is essential. Comb the hair thoroughly and inspect the layers from different angles. Make any necessary adjustments to ensure the layers are even and blend seamlessly.
8. Texturize (Optional)
Consider texturising the ends if you desire more texture or movement in your short layered haircut. Use the point-cutting technique to create soft, feathery ends, giving your hair a light and airy feel.